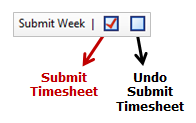
The submit week button will save all the entered timesheet items to
WIP. Undo submit timesheet button removes the items from WIP, to allow
the user to update the transactions. The Undo Submit Timesheet button
is only available for items that are not in declined, invoiced, written-off,
or queried status.
When
not using approvals:
The new entries for the week will be automatically
submitted upon saving the timesheet, if your System Administrator has
checked the box 'auto complete timesheet' on your staff login account.
If this setting is not active, the user will need to select 'Submit Timesheet'
after saving the weekly timesheet entries.
When using
approvals:
Select Submit Timesheet after saving the
weekly timesheet. This will send the items to the manager for approval.
Use the Undo Submit Timesheet button to unlock the transactions for edit.
Then update the items before resubmitting the timesheet to the manager
for approval.
Once items have been approved by the manager,
the undo submit timesheet button will not unlock the transactions (as
approved entries cannot be amended). Locate transaction approvals
topic to learn more.
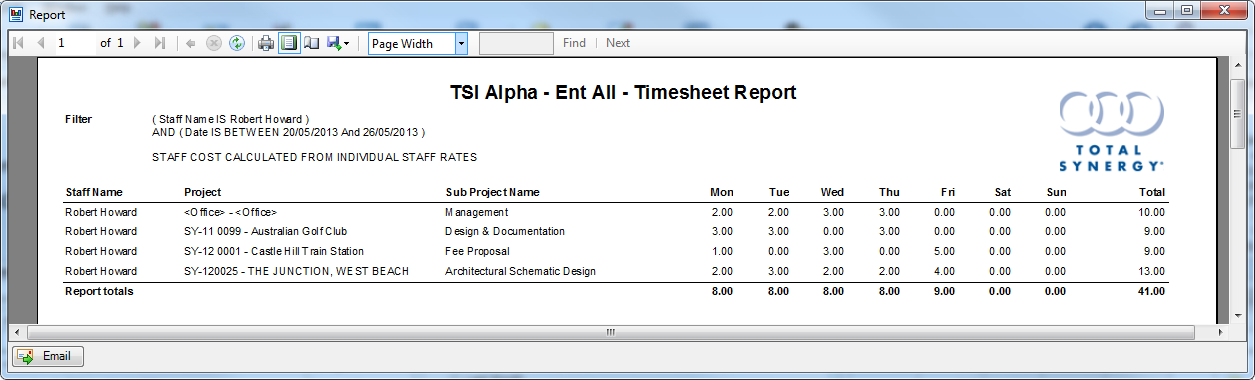
Tip: Make sure you submit all timesheet entries. Only submitted transactions
will be included as WIP against the project, and be available to be invoiced.
 symbol, select a Project.
 or Next Day
  buttons to switch to the next date you need to enter another timesheet. Or use the calendar to select a date.
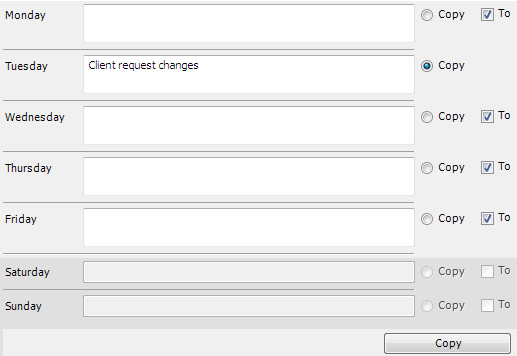

 on a date row to remove it from the Copy. This is useful if you selected the incorrect date in the copy to calendar.

 , or a history row that can be used for timesheet entry